Run IONIC + REACT PWA APP To Sub Directory/Folder On Your Website With Build/
This page is to show you how to make an IONIC + REACT application run on your localhost server or on a remote server on your website's sub directory or folder.
Requirements:
- NodeJs
- Ionic
- react-scripts
Asuming you have both nodejs, react-scripts and ionic alreay installed on your computer lets start with these simle steps.
1. Create a blank app with this command:
$ ionic start blankApp sidemenu
* For this example, I will be creating a React application with SideMenu
2. cd into the new app we just created
$ cd blankApp
3. OK, here is where you change the directory you want to run your application relative to the root directory. Open package.json and add the "homepage" property after "name" with the value of the path where you will be hosting your build on your website.
Example 1 - Remote Server
My build/ files are going to into the /var/www/web10/html/IONIC/FOR-TESTING/TEST_MATHAPP/testapp1/build - and my website is: https://www.example.com/IONIC/FOR-TESTING/TEST_MATHAPP/testapp1/build/ - For this path, I would set the following homepage:
TIP: you can get the aboslute path in your vs code terminal with the pwd command.
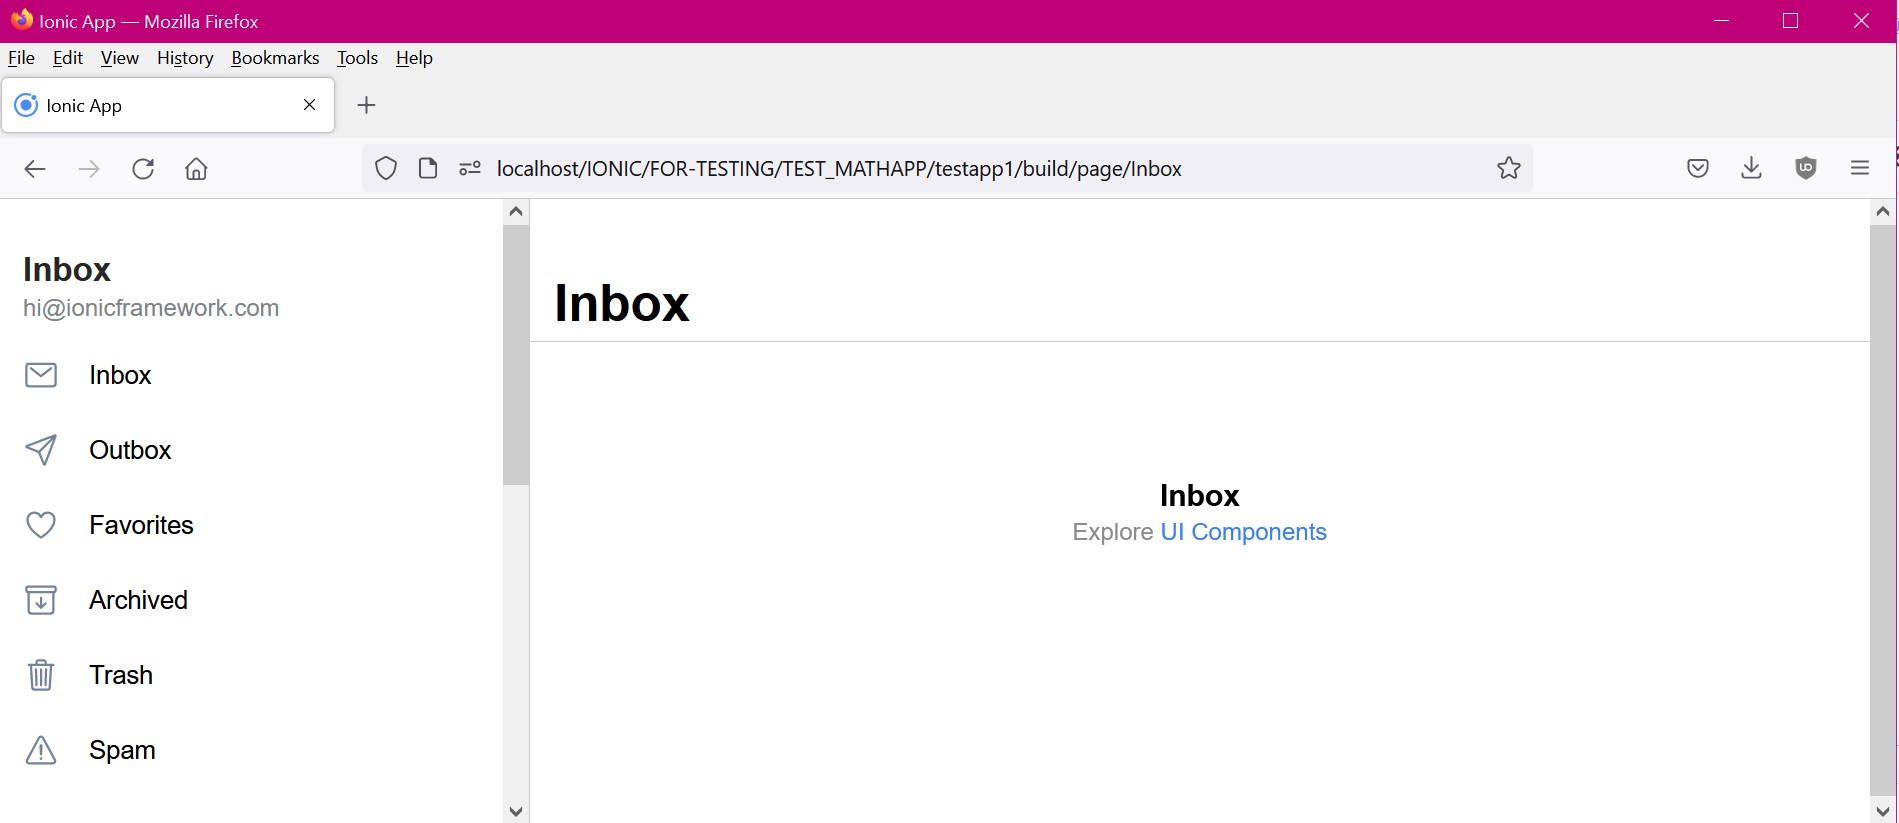
Example 2 - Local Server
My build is going to go on my local computer using XAMPP at C:\apachefriends\xampp\htdocs\IONIC/FOR-TESTING/TEST_MATHAPP/testapp1/build and my localserver is: http://localhost/IONIC/FOR-TESTING/TEST_MATHAPP/testapp1/build/ - The value for the homepage property is:
OPTIONAL: If you want to create a PWA, you can copen the src/index.tsx file and change FROM:
TO:
4. Open src/App.tsx and modify the routes to include the PUBLIC_URL in the path so the javascript application will find the correct component. For example, this is how my App.tsx router looks like:
5. Open src/omponents/Menu.tsx and add teh PULIC_RUL to the routerLink element routerLink={`${process.env.PUBLIC_URL}${appPage.url}`} :
6. After you have made and saved the changes to package.json lets build the application with the following command:
$ ionic build
After the build has completed, you will see a new folder called "build" has been created with all the required files including the index.html file to serve your static page. You can now either upload the build folder to your website at /var/www/web10/html/IONIC/FOR-TESTING/TEST_MATHAPP/testapp1/build or if you are running a local test server, you can uploaded it to the folder you configured on step 3 : C:\apachefriends\xampp\htdocs\IONIC/FOR-TESTING/TEST_MATHAPP/testapp1/build/
Enjoy.