The Perfect Laravel Homestead Windows 10 Installation For 2020
A new year and a new time to learn something new. You may have across different types of tutorial guides which show you how to get Laravel Homestead up an running. However, most to the videos on YouTube are longer than 15 minutes and sometimes even an hour long. Who has time for that? We are going to make it very easy how to get Laravel up and running using Homestead using the following key elements:
System Requirements
- Windows 10
- VirtualBox 6
- Vagrant 2.2.6
- Laravel 6
- PowerShell
- GIT
The first step is to install the latest version of Oracle VirtualBox. In this tutorial, we are using version 6
Next, ensure you install Vagrant. Its very easy to do, just download the .msi file form vagrantup.com
NOTE: You will have to reboot your PC after installing vagrant.
Install GIT in your windows computer if you don't already have it. You can download at git-scm.com
Now that you have VirtualBox and Vagrant and GIT installed you, open windows PowerShell and send this command:
vagrant box add laravel/homestead
This will take a while to download depending on your Internet Speed. After the download is complete, you will see a message like this:
==> box: Loading metadata for box 'laravel/homestead'
    box: URL: https://vagrantcloud.com/laravel/homestead
==> box: Adding box 'laravel/homestead' (v8.2.1) for provider: virtualbox
    box: Downloading: https://vagrantcloud.com/laravel/boxes/homestead/versions/8.2.1/providers/virtualbox.box
    box: Download redirected to host: vagrantcloud-files-production.s3.amazonaws.com
    box:
==> box: Successfully added box 'laravel/homestead' (v8.2.1) for 'virtualbox'!
Lets create a projects directory. Note, you can create your projects directory, for simplicity, i will be creating it in the C: root drive: C:\Laravel
Create another folder called Projects in C:\Laravel
Command to Change Directory to C:\Laravel
cd C:\Laravel
Now lets clone a copy of Homestead with this command:
git clone https://github.com/laravel/homestead.git ./Homestead
Change Directory to the clone we just created:
cd .\Homestead\
To avoid using the latest repository, lets make sure we are using the latest release:
git checkout release
List the files in the Homestead folder:
ls
You should see a file called init.bat and Homestead.yaml. Execute the init.bat file with this command:
.\init.bat
Setup Configurations
You should see the following:
        1 file(s) copied.
        1 file(s) copied.
        1 file(s) copied.
Homestead initialized!
Open Homestead.yaml with Sublime or your favorite text editor like notepad or vsCode
Change the file to look something like this:
---
ip: "192.168.10.10"
memory: 2048
cpus: 2
provider: virtualbox

folders:
    - map: C:\Laravel\Projects
      to: /home/vagrant/code

sites:
    - map: homestead.test
      to: /home/vagrant/code/example/public

databases:
    - homestead

features:
    - mariadb: false
    - ohmyzsh: false
    - webdriver: false
IMPORTANT: Separate each project, if you wanted to add another you would use code/example2/public
Hosts File
Open and Edit your hosts file in windows, follow these steps:
- Open notepad as administrator. you can right click on the taskbar icon and select run as admin
- Hit control + open to open the hosts file
- Navigate to: Navigate to: C:\Windows\System32\drivers\etc\
- Select 'All Files(*.*) from the drop menu on the bottom right
- Click on hosts
- ADD:
192.168.10.10 homestead.test - Save
Start the Linux Virtual Machine
Start the Ubuntu Server with the following commandvagrant up
NOTE: If you get this error, you made a mistake in the Homestead.yaml file, double check and compare to the text above
ERROR: Check your Homestead.yaml (or Homestead.json) file, the path to your private key does not exist.
After vagrant has completed installing the server, you should see the following messages:
    homestead: Running: C:/Users/[USER]/AppData/Local/Temp/vagrant-shell20191027-5284-1wjvcf7.sh
==> homestead: Running provisioner: shell...
    homestead: Running: script: Update motd
==> homestead: Running provisioner: shell...
    homestead: Running: C:/Users/[USER]/AppData/Local/Temp/vagrant-shell20191027-5284-1a8nbmv.sh
You are ready to SSH to your server:
vagrant ssh
You should get a message that looks like this:
After you have successfully SSH into the server. Now you can install Laravel
$ composer global require laravel/installer
YOU SHOULD SEE A 'code' DIRECTORY:$ ls
GO TO code DIRECTORY:$ cd code
NOW GENERATE THE PROJECT example FILES as it matches with the Homestead.yaml file$ laravel new example
NOTE: this is the name of the project you entered in your Homestead.yaml file
After the script has completed, you will see the following message:
Discovered Package: facade/ignition
Discovered Package: fideloper/proxy
Discovered Package: laravel/tinker
Discovered Package: nesbot/carbon
Discovered Package: nunomaduro/collision
Package manifest generated successfully.
Application ready! Build something amazing.
Go back to your windows file explorer to C:\Laravel and you will see a new folder called example
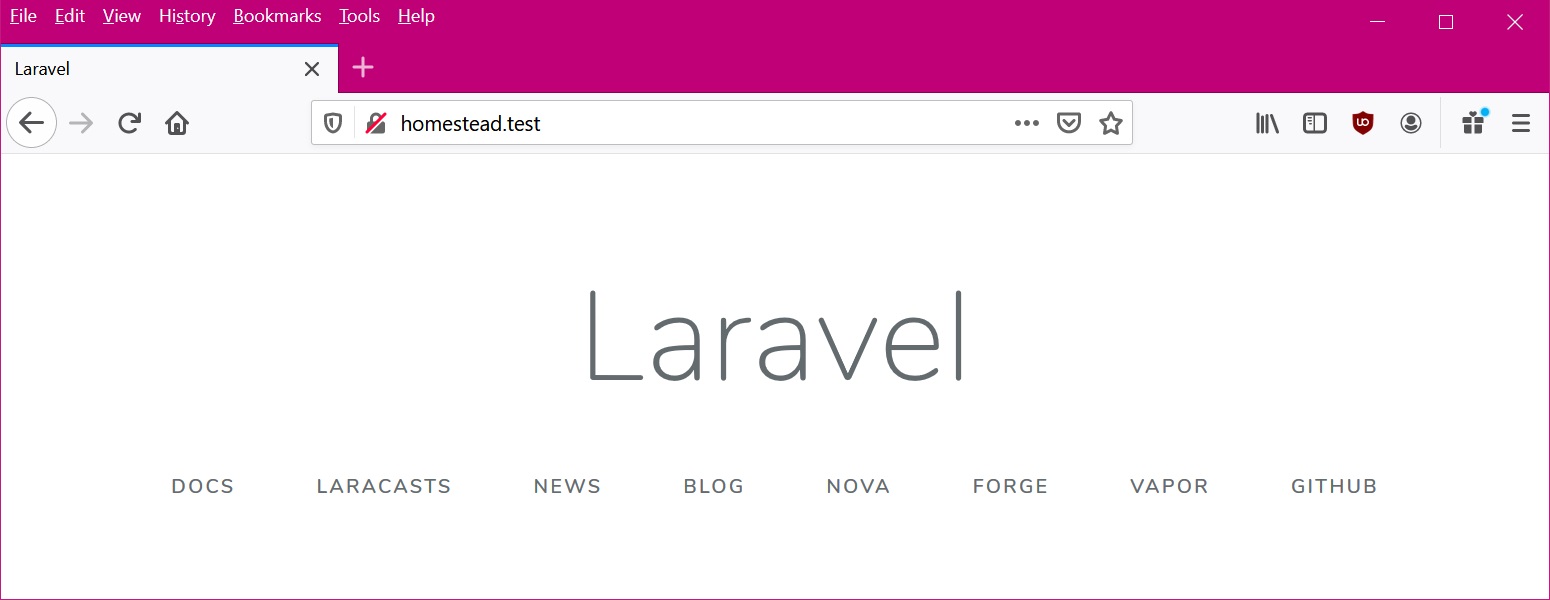
Open App in Browser
You are ready to see the new app in your browser. So open your browser and go to:
http://homestead.test
That's it!