Laravel Routing Tutorial - Route Using A Controller And Mysql Database
So far, all the example GET parameters we've been using have been directly from the script. Realistically, when you have a website, you want to retrieve the content for a particular page from a database. This tutorial will go through the steps in creating a simple laravel project using homestead/vagrant using MySQL database.
MySQL Settings
The first thing we need to do is to setup our project with the correct database. Open the file /.env and change the following settings:
.env:
DB_CONNECTION=mysql
DB_HOST=127.0.0.1
DB_PORT=3306
DB_DATABASE=laravel6
DB_USERNAME=homestead
DB_PASSWORD=secret
Note that on the above settings, I am using MySQL but you could use SQLite if you wanted but for this tutorial I am using MySQL since thats what the homestead vagrant server came with. On the following steps, we are going to connect to a MySQL database called laravel6 with the default user/password that comes with the homestead vagrant server. You can use your own database but just make sure you change the settings to your configuration.
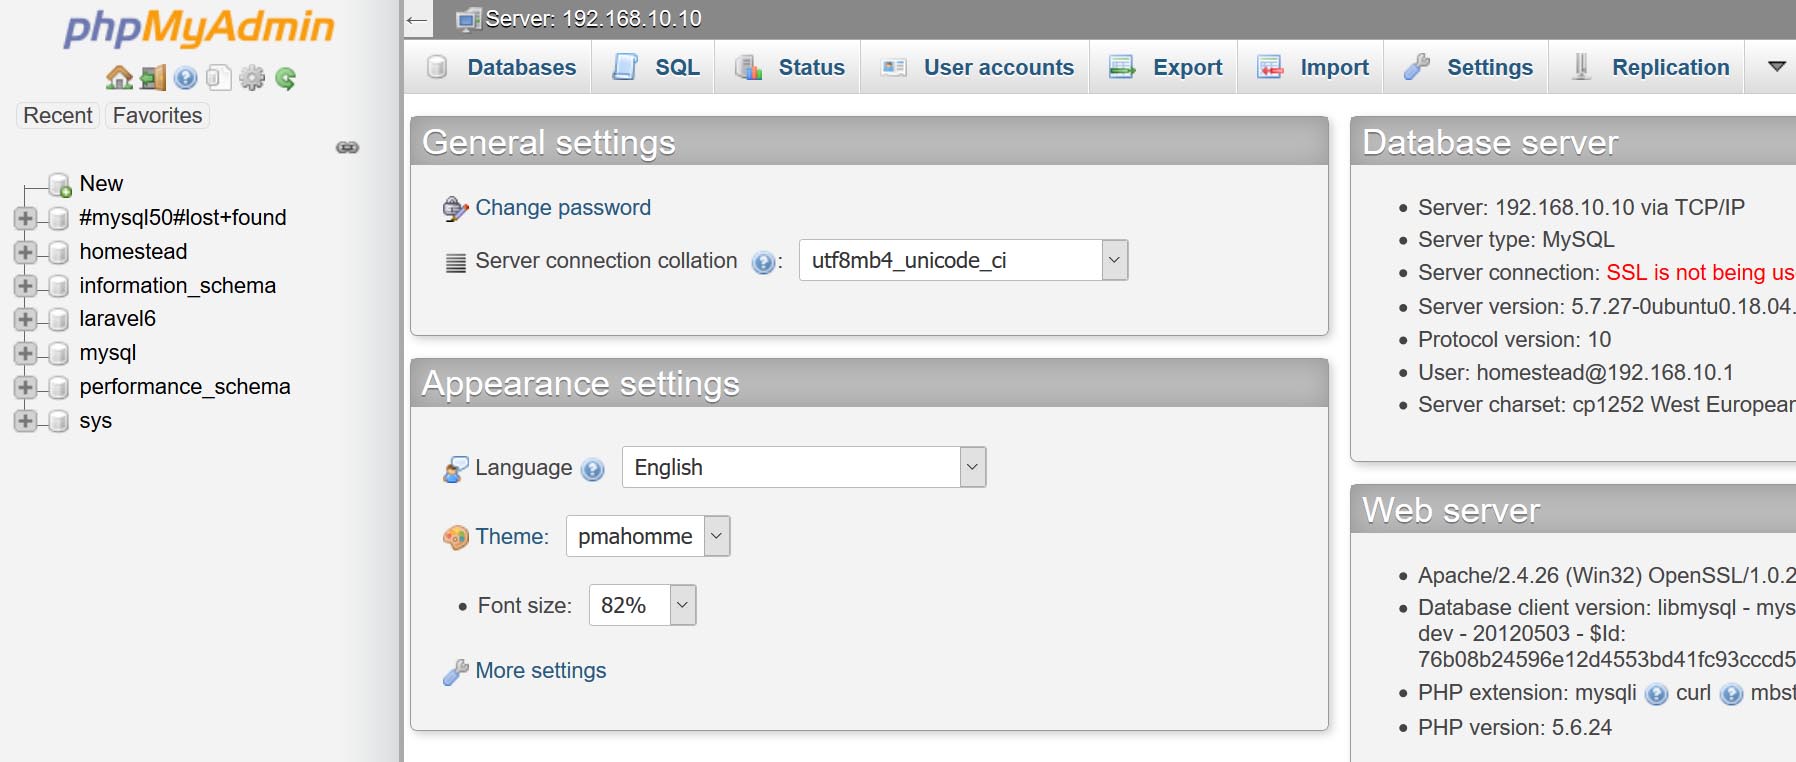
NOTE: As I mentioned, I am using a windows 10 PC. I have XAMPP installed. I have also installed a virtualbox homestead vagrant which comes with an Ubuntu server. To manage the database I am using MySQL Workbench and/or phpMyAdmin. Either one works, but for me the best and easiest is phpMyAdmin. This is what I did to get me running.
- Download phpMyAdmin
- Unzip the file somewhere withing the apachefriends XAMPP htdocs directory
- Open file: config.sample.inc.php and edit the following settings:
$cfg['Servers'][$i]['host'] = '192.168.10.10';- Same config.sample.inc.php as config.inc.php
- Open phpMyAdmin on your browser
- Enter username: homestead
- Password: secret

Note: As an alternate, you can download MySQL Workbench
Create Laravel6 Table and One Sample Page
Lets create a laravel6 table, to make is easy for you, you can just copy and paste the following into your database schema to import the database we will be using in this example.
Import/Export laravel6 Table:
 -- phpMyAdmin SQL Dump
-- version 4.9.1
-- https://www.phpmyadmin.net/
--
-- Host: 192.168.10.10
-- Generation Time: Oct 31, 2019 at 05:01 AM
-- Server version: 5.7.27-0ubuntu0.18.04.1
-- PHP Version: 5.6.24

SET SQL_MODE = "NO_AUTO_VALUE_ON_ZERO";
SET AUTOCOMMIT = 0;
START TRANSACTION;
SET time_zone = "+00:00";

--
-- Database: `laravel6`
--

-- --------------------------------------------------------

--
-- Table structure for table `posts`
--

CREATE TABLE `posts` (
  `id` int(11) NOT NULL,
  `slug` varchar(45) DEFAULT NULL,
  `body` text
) ENGINE=InnoDB DEFAULT CHARSET=latin1;

--
-- Dumping data for table `posts`
--

INSERT INTO `posts` (`id`, `slug`, `body`) VALUES
(1, 'contact', 'This is the contact us page');

--
-- Indexes for dumped tables
--

--
-- Indexes for table `posts`
--
ALTER TABLE `posts`
  ADD PRIMARY KEY (`id`),
  ADD UNIQUE KEY `id_UNIQUE` (`id`);

--
-- AUTO_INCREMENT for dumped tables
--

--
-- AUTO_INCREMENT for table `posts`
--
ALTER TABLE `posts`
  MODIFY `id` int(11) NOT NULL AUTO_INCREMENT, AUTO_INCREMENT=2;
COMMIT;
Now that you have your database and one example post ready, we need to access using GET parameter. To do this we will be modifying our PagesController.php file to the following:
app/Http/Controllers/PagesController.php
<?php
namespace App\Http\Controllers;
use Illuminate\Http\Request;
class PagesController extends Controller
{
    public function show($PageId)
    {
          $pages = \DB::table('posts')->where('slug',$PageId)->first();
          dd($pages); // shows the whole array in <pre>
          if(! array_key_exists($PageId, $pages)){
            abort(404, 'Page is not found');
          }
          Return View('pages', [
            'pages' => $pages[$PageId]
          ]);
        }
}
resources/views/pages.blade.php:
<!DOCTYPE HTML>
<html>
<head>
<meta http-equiv="Content-Type" content="text/html; charset=utf-8">
<title>{{$pages}}</title>
</head>
<body>
<a href="http://myapp.test/?pages=contactss">http://myapp.test/?pages=contactss</a>
<h1><?= $pages; ?> PHP Unescaped</h1>
<h1><?= htmlspecialchars($pages, ENT_QUOTES); ?> PHP htmlspecialchars</h1>
<h1>{{$pages}} - Blade Escaped</h1>
<h1>{!! $pages !!} - Blade Unescaped</h1>
<hr>
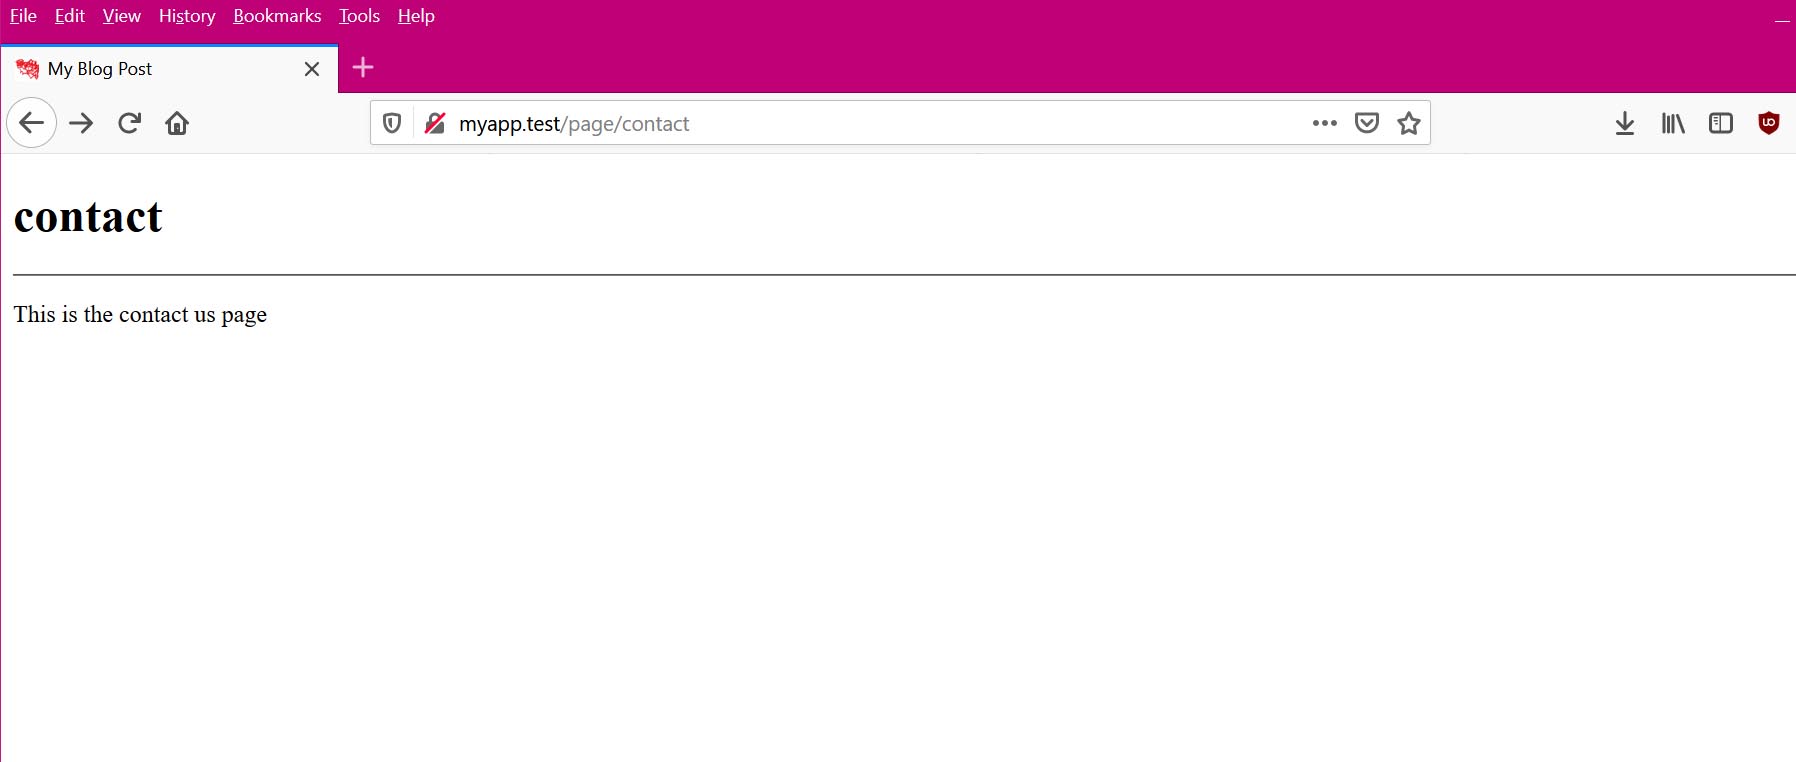
<p><a href="http://myapp.test/page/contact">http://myapp.test/page/contact: </a>{{ $pages }}</p>
<p><a href="http://myapp.test/page/notInArray">http://myapp.test/page/notInArray: </a>{{ $pages }}</p>
</body>
</html>
Open in Browser: http://myapp.test/page/contact
OUTPUT:
{#258 â–¼
  +"id": 1
  +"slug": "contact"
  +"body": "This is the contact us page"
}
as you can see from the output on the browser, it shows row with slug="contact" with is the GET parameter from the URL http://myapp.test/page/contact
Now that we know we can connect to our database, lets create a small Blog using the example database. Notice that in Pages.blade.php we passed a string. However, that is not practical because the table from the database is an object. Edit the following files with the provided code:
resources/views/Pages.blade.php
<!DOCTYPE HTML>
<html>
  <head>
    <meta http-equiv="Content-Type" content="text/html; charset=utf-8">
    <title>My Blog Post</title>
  </head>
  <body>
    <h1>{{$pages->slug}}</h1><hr>
    <p>{{ $pages-> body }}</p>
  </body>
</html>
app/Http/Controllers/PagesController.php
<?php
namespace App\Http\Controllers;
use Illuminate\Http\Request;
class PagesController extends Controller
{
    public function show($PageId)
    {
          $pages = \DB::table('posts')->where('slug',$PageId)->first();
          Return View('pages', [
            'pages' => $pages
          ]);
    }
}
Open in browser: http://myapp.test/page/contact

Hope that helps