PHP Code For Creating a Laravel API With Authentication
These are my notes following this tutorial to create a Laravel API Application with JWT token authentication.
Create App called api10.
cd ~/Desktop/local-laravel/docker/api10
Open file .env
Change TO:
DB_CONNECTION=sqlite
# YOU WILL NEED sqlite for php$ sudo apt install php-sqlite3 package
OPEN config/database.php and CHANGE TO:
'default' => env('DB_CONNECTION', 'sqlite'),
create sqlite db file$ touch database/database.sqlite
ALTERNATIVE< YOU CAN ADD THE FOLLOWING TO .env:
DB_DATABASE=/absolute/path/to/database.sqlite
$ php artisan migrate
config/auth.php
CHANGE TO: 'guard' => 'api',
routes/api.php change to:
middleware('auth')->get
// popular laravel package for web tokens
https://jwt-auth.readthedocs.io/en/develop/
INSTALL JWT-AUTH $ composer require tymon/jwt-auth
after it completes, publish the config file open routes/api.php
APPEND:
##################################################################
use Illuminate\Support\Facades\Hash;

// create a user route
Route::get('/user-create',function (Request $request) {
    App\Models\User::create([
        'name' => 'cooldude',
        'email' => '[email protected]',
        'password' => Hash::make('password')
    ]);
});
##################################################################
CREATE THE USER USING POSTMAN OR INSOMNIA:
http://localhost/api/user-create
go to you database editor and check the user was created
install JWT-auth$ php artisan vendor:publish --provider="Tymon\JWTAuth\Providers\LaravelServiceProvider"
OUTPUT:
Copied File [/vendor/tymon/jwt-auth/config/config.php] To [/config/jwt.php]
Publishing complete.
OPEN:
config/jwt.php
CREATE A JWT SECRET $ php artisan jwt:secret
OUTPUT: jwt-auth secret [TOKEN] set successfully.
http://localhost/api/login
open routes/api.php
APPEND:
##################################################################
// login a user
Route::post('/login',function () {
    $credentials = request() -> only('email', 'password');
    $token = auth()->attempt($credentials);
    return $token;
});
##################################################################
OPen config/auth.php
CHANGE:
##################################################################
        'api' => [
            'driver' => 'jwt',
##################################################################
OPEN app/Models/User.php
$ code app/Models/User.php
ADD:
use Tymon\JWTAuth\Contracts\JWTSubject;
CHANGE:class User extends Authenticatable implements JWTSubject
APPEND TO CLASS AT THE BOTTOM:
reference: https://jwt-auth.readthedocs.io/en/develop/quick-start/
    public function getJWTIdentifier()
    {
        return $this->getKey();
    }

    /**
     * Return a key value array, containing any custom claims to be added to the JWT.
     *
     * @return array
     */
    public function getJWTCustomClaims()
    {
        return [];
    }
open in INSOMNIA
CREATE NEW REQUEST: AS text=JSON
{
    "email": "[email protected]",
    "password" : "password"
}
http://localhost/api/login
HIT SEND, you will get a token:
[EXAMPLE_EXAMPLE_TOKEN]
you can view the generated token to: https://jwt.io/
https://youtu.be/TTK8uQOjpT0?t=1662
It will say invalid signature, you can go to the .env file and get the jwtsecre and paste in the "your-256-bit-secret"
[EXAMPLE_EXAMPLE_TOKEN]
WORKS: GIT SAVED:
OPEN app/models/User.php
APPEND:
##################################################################
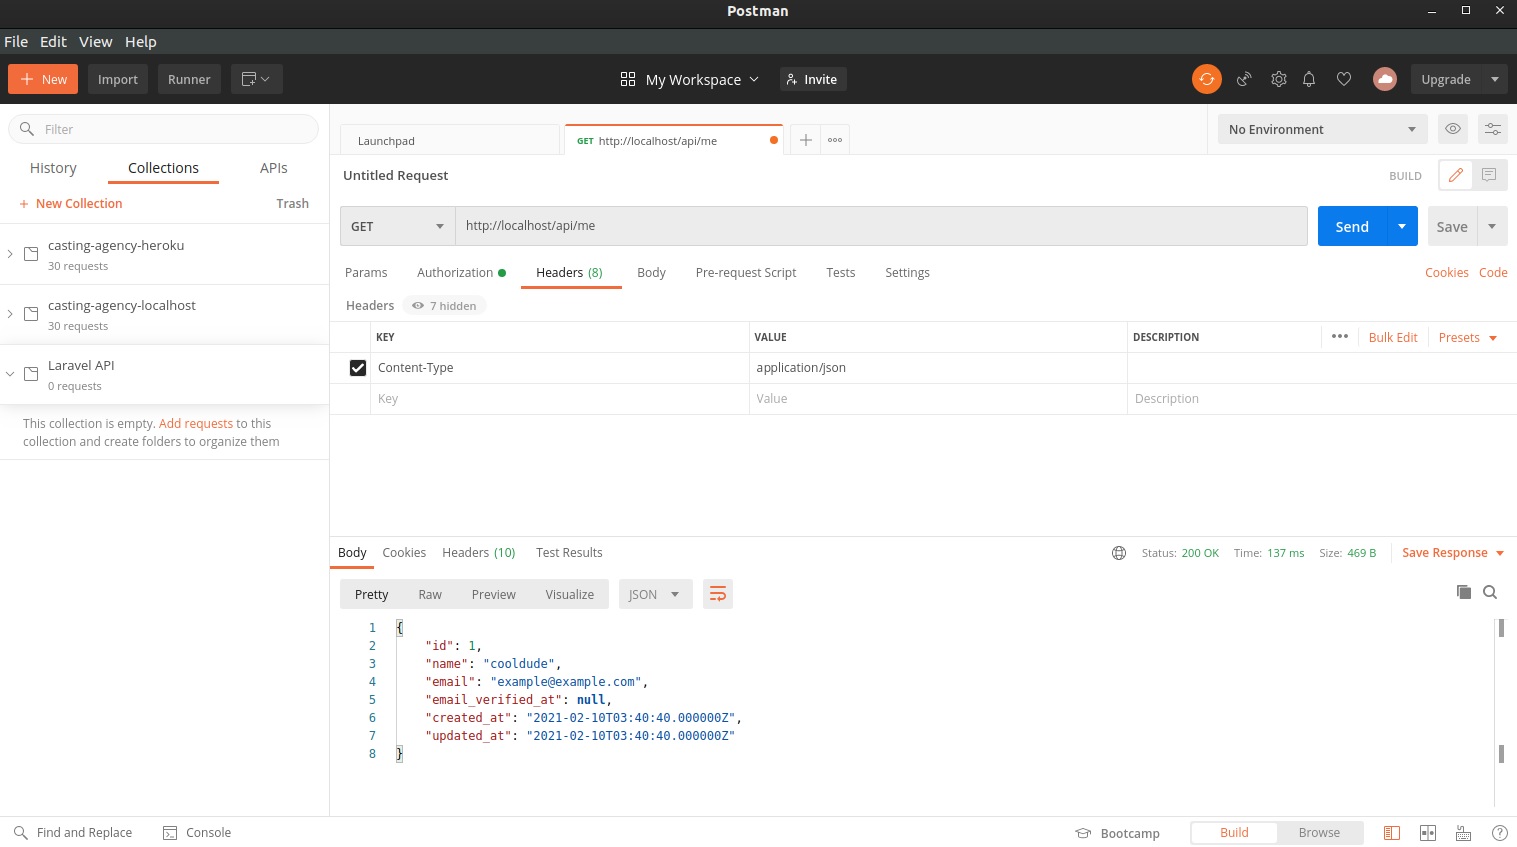
// get authenticated user
Route::middleware('auth')->get('/me',function () {
$user = auth()->user();
return $user; // Returns all user data
// or
return $user->id; // return user id
});
##################################################################
open in INSOMNIA
CREATE NEW GET REQUEST: Get Login user
Set Header tab: (CASE SENSATIVE BELOW)
Content-Type application/json
Authorization Bearer [TOKEN]$ git add .$ git commit -m "WORKS: get login user: http://localhost/api/me"
I followed this good tutorial from this guy it was a little outdate but I was able to figure out some of the new changes. One major difference was he was using a MAC and I was using a Linux Ubuntu Virtual machine from a Windows 10 host.
This video shows how to create a laravel api with authetication for backend:
This is a longer tutorial but informative